Full Bike Maintenance — Trek Domane AL 2Mantenimiento completo — Trek Domane AL 2
I set myself on the task of rebuilding my trek al domane 2 road bike. I bought my bike in late 2020. Back then I was only 19 and I was even more broke than today. I was only able to buy it because I had earned some money from re-building my parents kitchen at their place. Although, I try not to clinch to material things in general, this bike has a high emotional meaning to me. It represents several things: the product of my work and ability to learn something by my own, my means of transport for 5 years to uni and even until today, the sport that pulled me away from bad habits and gives me happy moments surrounded by the people I call friends today, the vehicle of countless trips with my best friend in Uni (no matter how far or close).
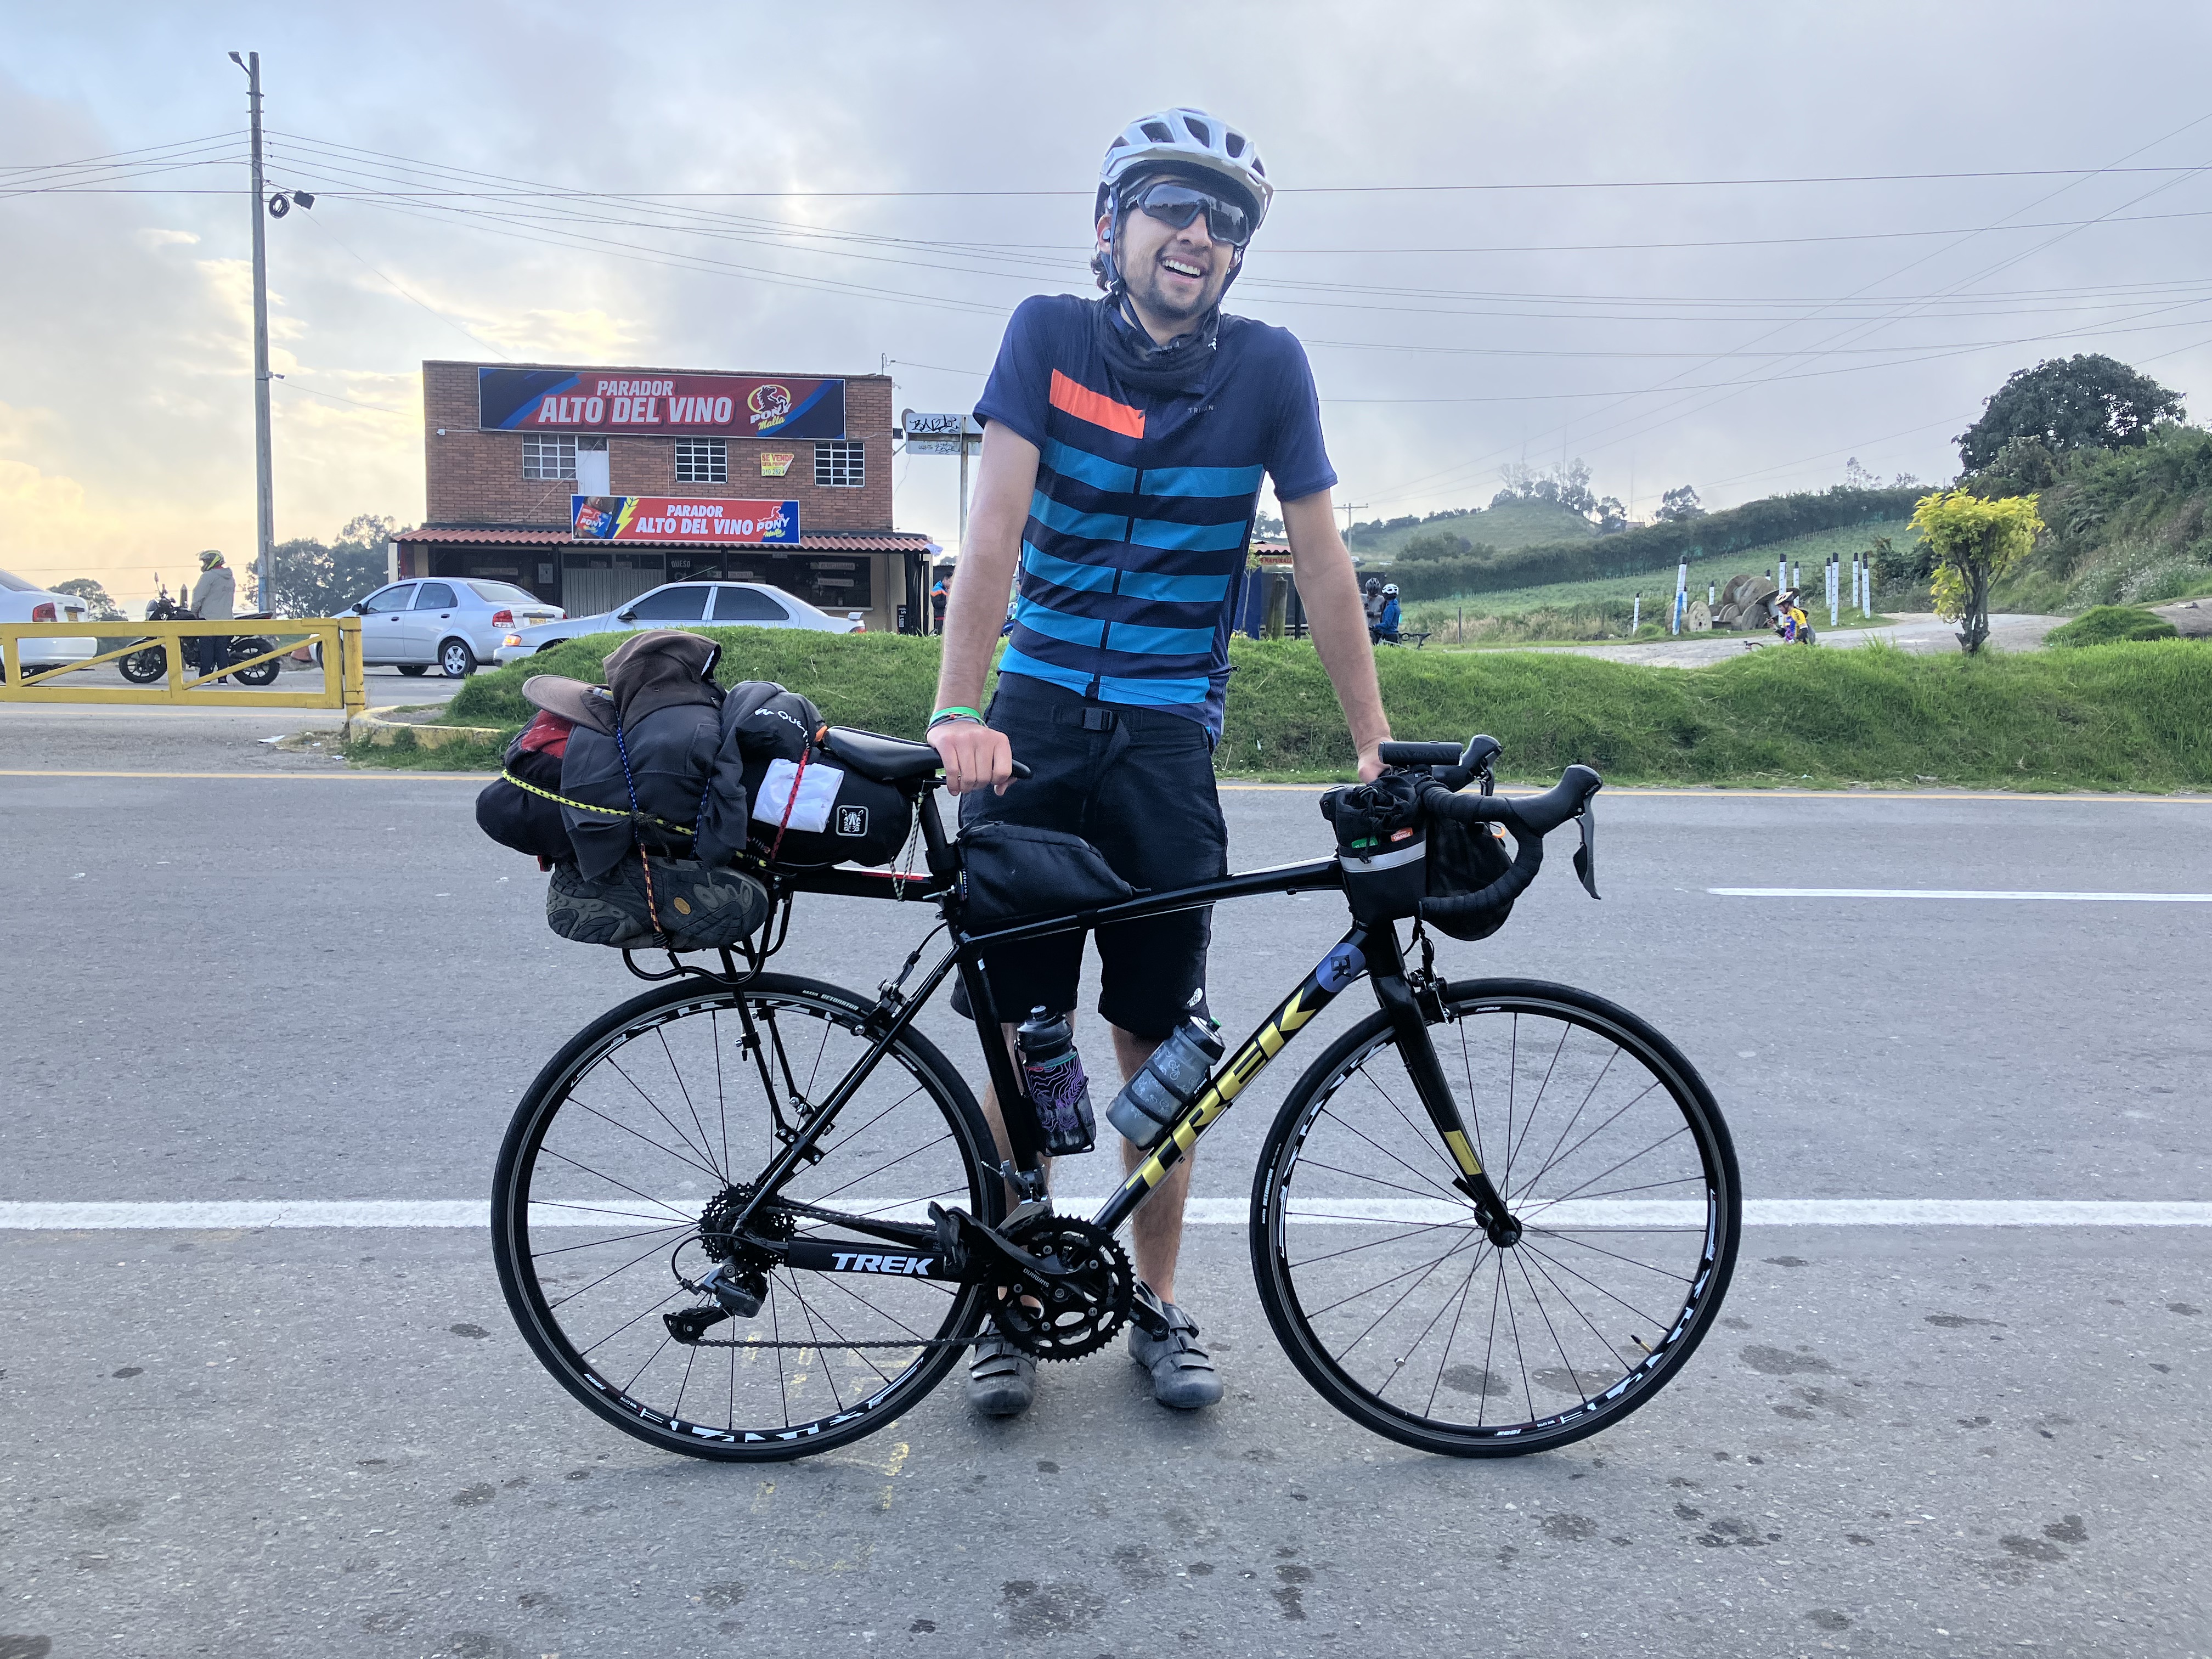
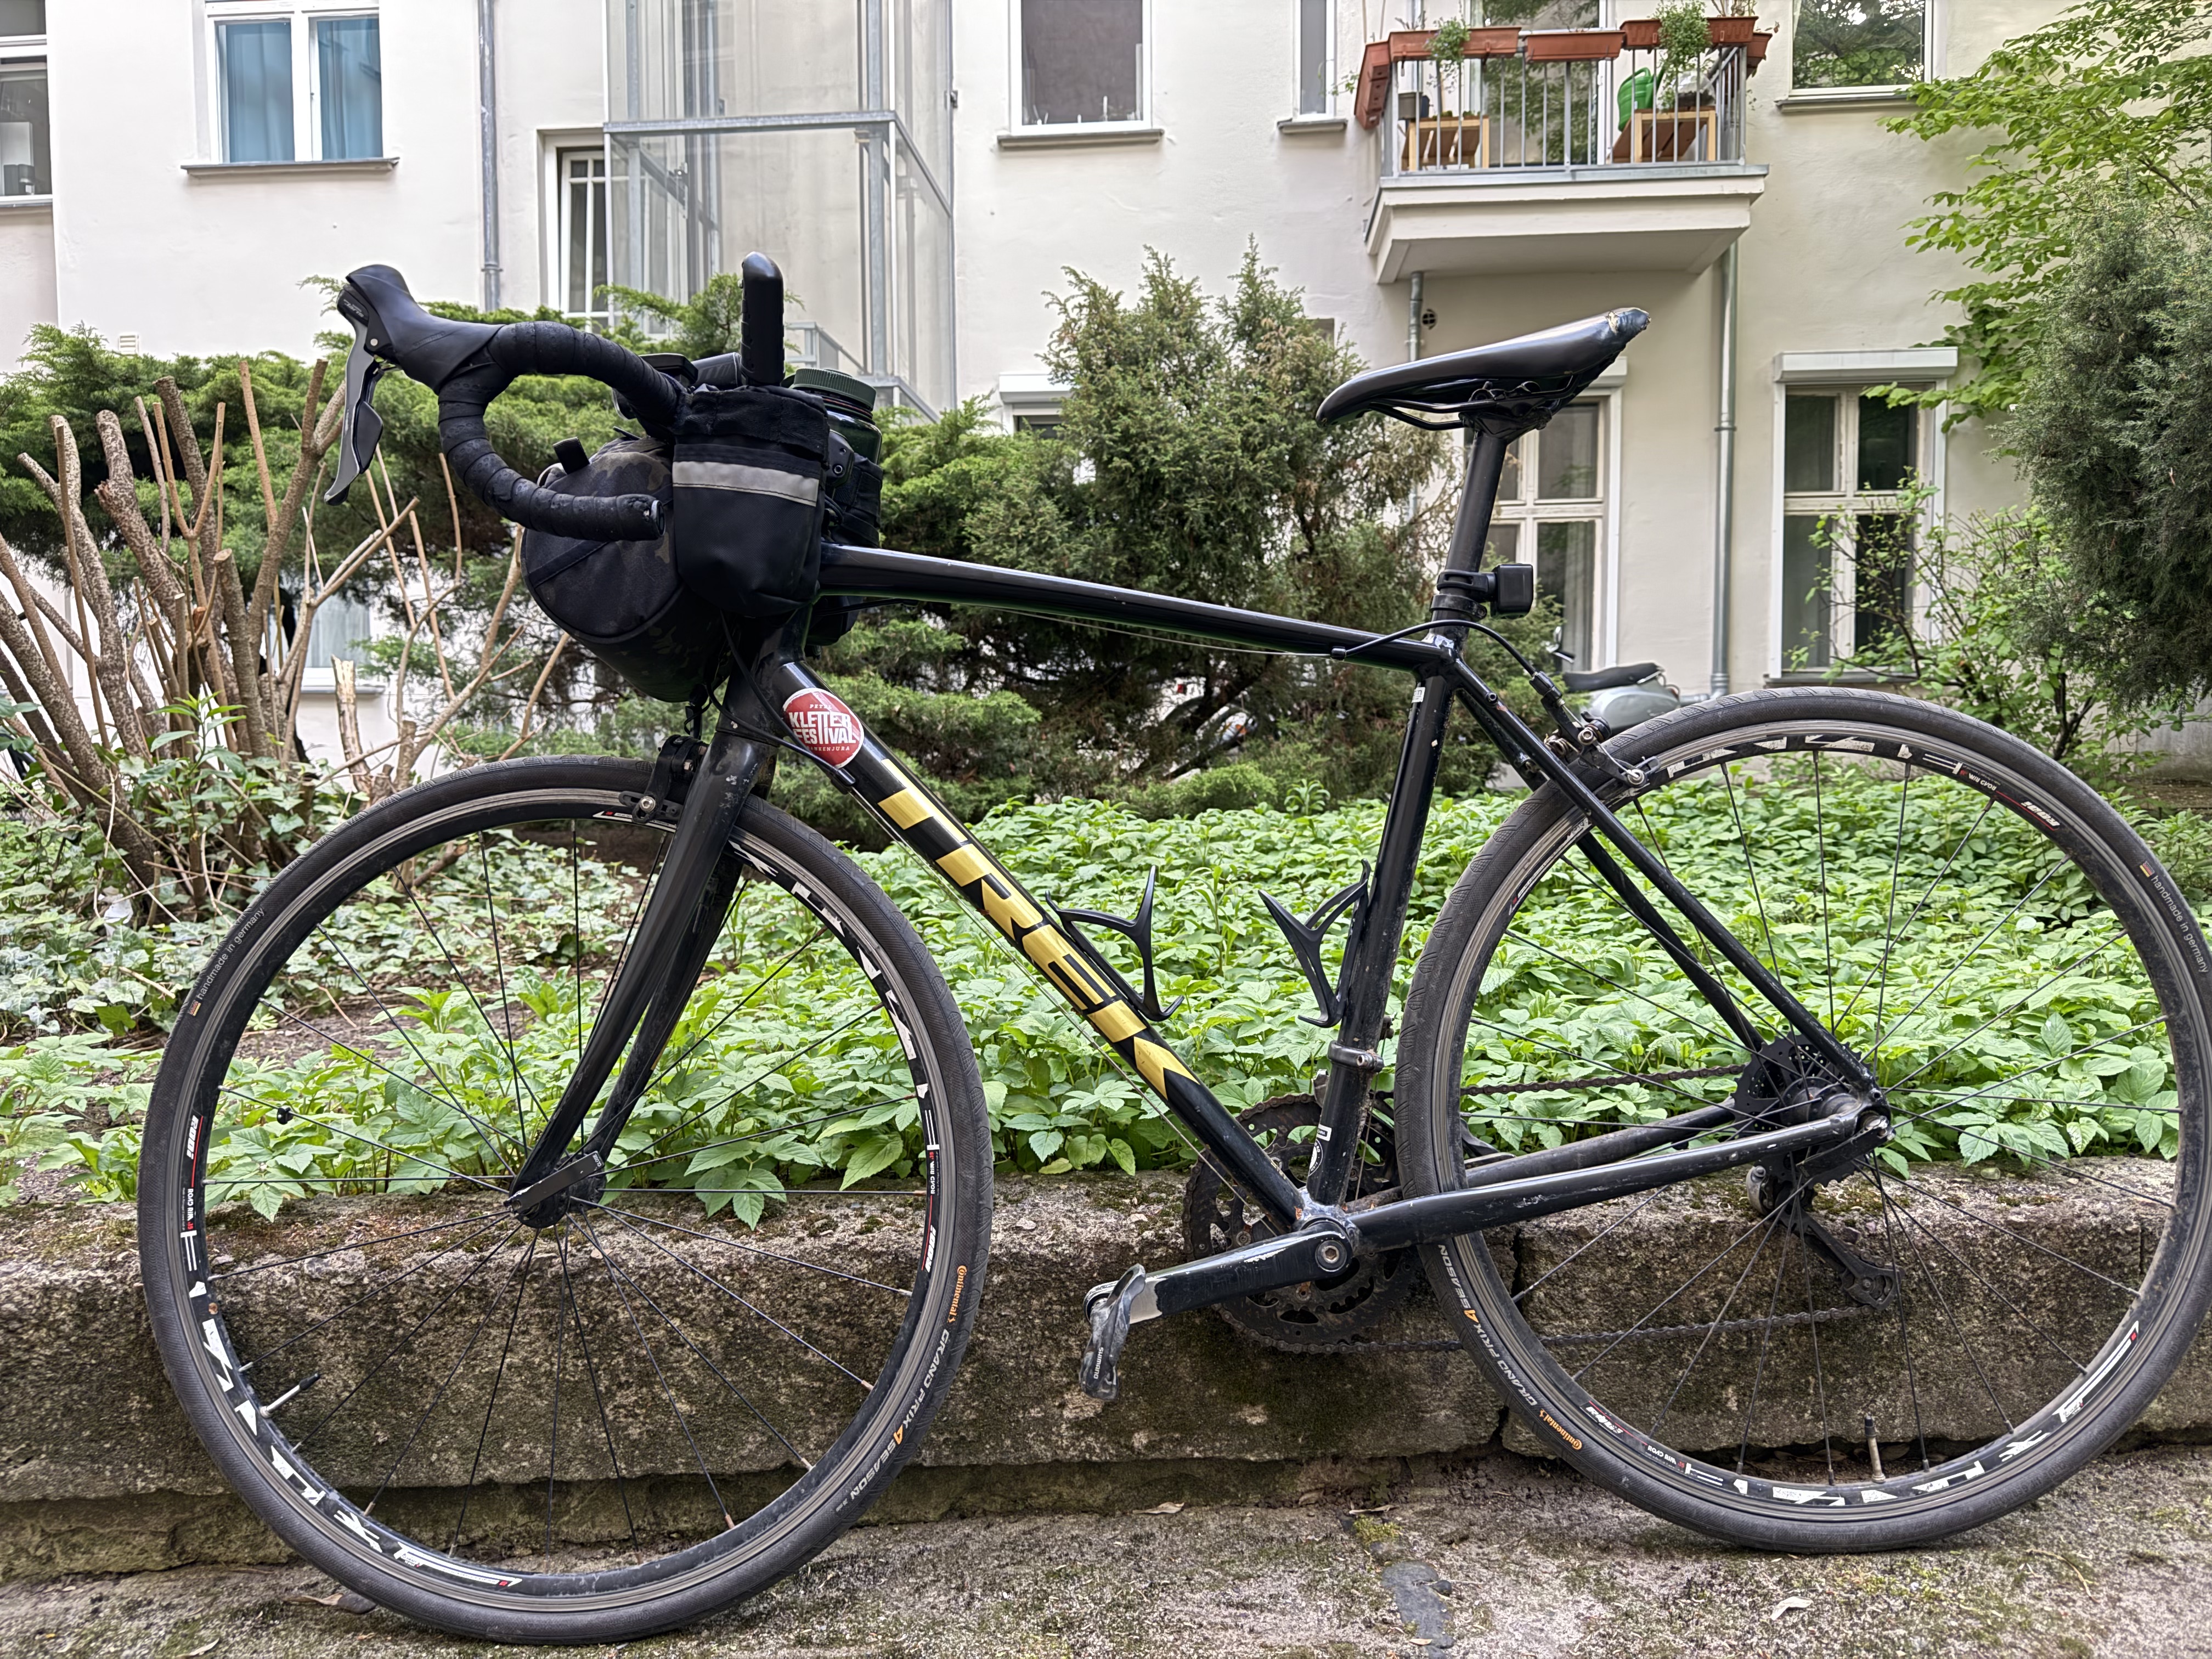
I want to share on this post how I did the maintenance of my bike in my flat and the tools I used to do so. Hope someone out there has had the same idea and can learn something from my experience.
Okay, so where to start right? there are so many components in a bike: headsets, bottom brackets, rear&front derailures, hubs, spokes, gears, casettes, brakes…. man and thats just the start each one of this has evolved along the years and has an endless rabithole to fall in.
I was used to take my bike to maintenance every other month (it was way cheaper in Colombia). However, since I live in Germany I haven’t been able to service it and you can see the rust and wear on the metal components when you come out of winter (yes I don’t stop commuting by bike in winter).
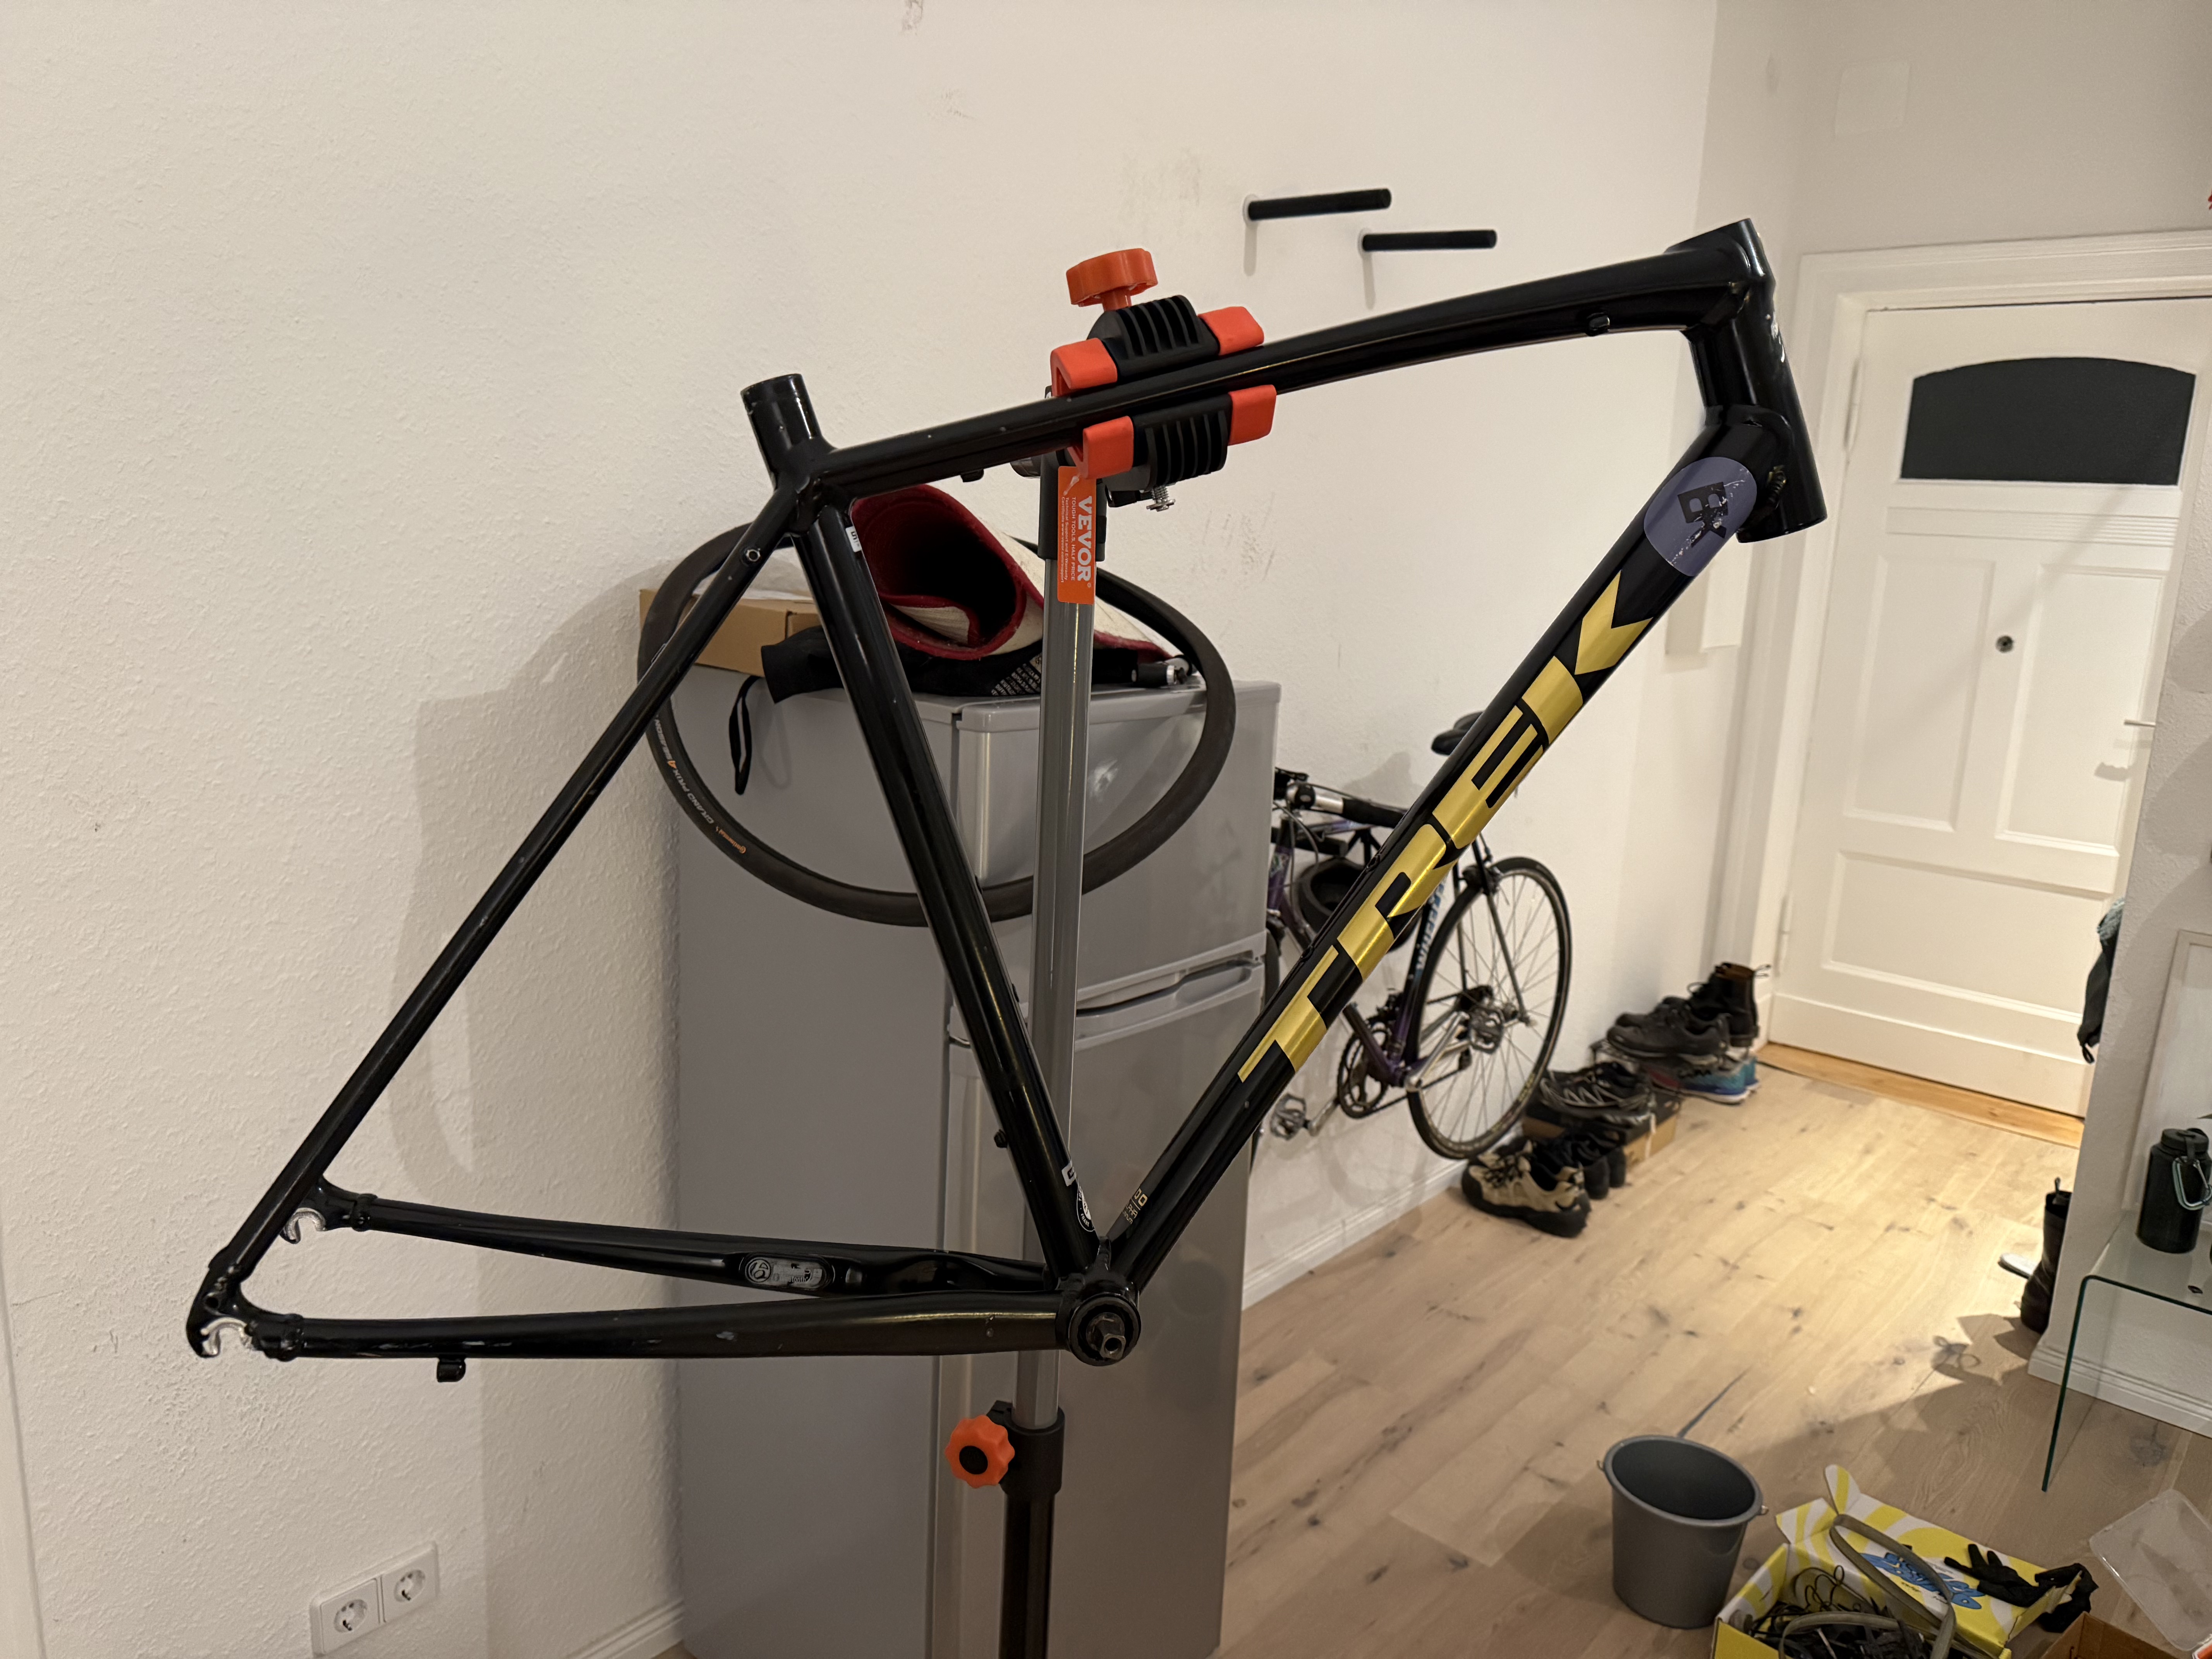
I took it all apart, even the wheels. I learned by force lets say how to true bike wheels. Take out a bottom bracket, servicing hubs and changing headsets. I say by force because I happen to do it by the end of March just when the weather is improving and you want to cycle for real. However, a maintenance was required after that long winter. I started with the brakes, then the gears cables, took out the tires, cut every spoke, released the handle bar, unscrew the crank set and washed the frame and every other component in my bathtub. This picture to the left is almost a complete naked frame. Taken the bottom bracket is quite a struggle, as I would come to learn later.
What I had in my toolbox was this:
- DURATECH Bicycle Repair Kit 41 Pieces with Tool Box Don’t buy this.
- Set of spanners 4 - 32
- Set of screwdrivers
- A really cheap truing stand
The first one is cheap and although you get the job done you just feel that its gonna break any moment, wouldn’t recommend to anyone to buy this.
One early learning that might be obvious to y’all, you use a lot of consumables:
- Degreaser - I went with an eco friendly one that even said was vegan.
- WD-40
- Grease
- Cleaner - Soap
Me puse la tarea de reconstruir mi bici de ruta, una Trek Domane AL 2. La compré a finales de 2020. En ese entonces tenía apenas 19 años y estaba todavía más quebrado que hoy. Solo pude comprarla porque había ganado algo de plata rehaciendo la cocina de mis papás en su casa. Aunque en general intento no apegarme a las cosas materiales, esta bici tiene un significado emocional muy grande para mí. Representa varias cosas: el fruto de mi trabajo y de mi capacidad de aprender algo por mi cuenta, mi medio de transporte durante 5 años para ir a la universidad y hasta el día de hoy, el deporte que me alejó de malos hábitos y que me da momentos felices rodeado de las personas que hoy llamo amigos, el vehículo de incontables viajes con mi mejor amigo de la universidad (sin importar si eran lejos o cerca).
En este post quiero compartir cómo le hice el mantenimiento a mi bici en mi apartamento y las herramientas que usé. Ojalá alguien por ahí haya tenido la misma idea y pueda aprender algo de mi experiencia.
Bueno, ¿por dónde empezar, no? Una bici tiene un montón de componentes: dirección, eje de pedalier, desviadores trasero y delantero, bujes, radios, piñones, casete, frenos… y eso es solo el comienzo; cada uno ha evolucionado con los años y es un agujero de conejo sin fondo.
Estaba acostumbrado a llevar la bici a mantenimiento cada dos meses (era muchísimo más barato en Colombia). Pero desde que vivo en Alemania no he podido hacerle mantenimiento, y se nota el óxido y el desgaste en las piezas de metal cuando sales del invierno (sí, no dejo de ir en bici en invierno).
La desarmé toda, hasta las ruedas. Aprendí a la fuerza, digamos, a centrar ruedas, sacar un eje de pedalier, hacerle servicio a los bujes y cambiar la dirección. Digo a la fuerza porque me tocó hacerlo a finales de marzo, justo cuando el clima está mejorando y uno quiere rodar en serio. Pero después de ese invierno tan largo el mantenimiento era necesario. Empecé por los frenos, después los cables de los cambios, saqué las llantas, corté todos los radios, solté el manubrio, desatornillé las bielas y lavé el marco y todos los demás componentes en la bañera. La foto de la izquierda es el marco casi completamente desnudo. Sacar el eje de pedalier es toda una lucha, como iba a descubrir después.
Esto es lo que tenía en mi caja de herramientas:
- DURATECH Bicycle Repair Kit 41 Pieces with Tool Box No lo compren.
- Juego de llaves fijas de 4 a 32
- Juego de destornilladores
- Un soporte de centrado bien barato
El primero es barato y aunque cumple, se siente que se va a romper en cualquier momento; no se lo recomendaría a nadie.
Un aprendizaje temprano que quizás para ustedes sea obvio: se usan muchos consumibles:
- Desengrasante: escogí uno ecológico que hasta decía que era vegano.
- WD-40
- Grasa
- Limpiador: jabón